Hiking is a great way to enjoy nature, explore new places, and stay fit. However, hiking also comes with some risks, such as getting lost or injured. That's why it's important to have some basic navigation skills and tools when you hit the trails.
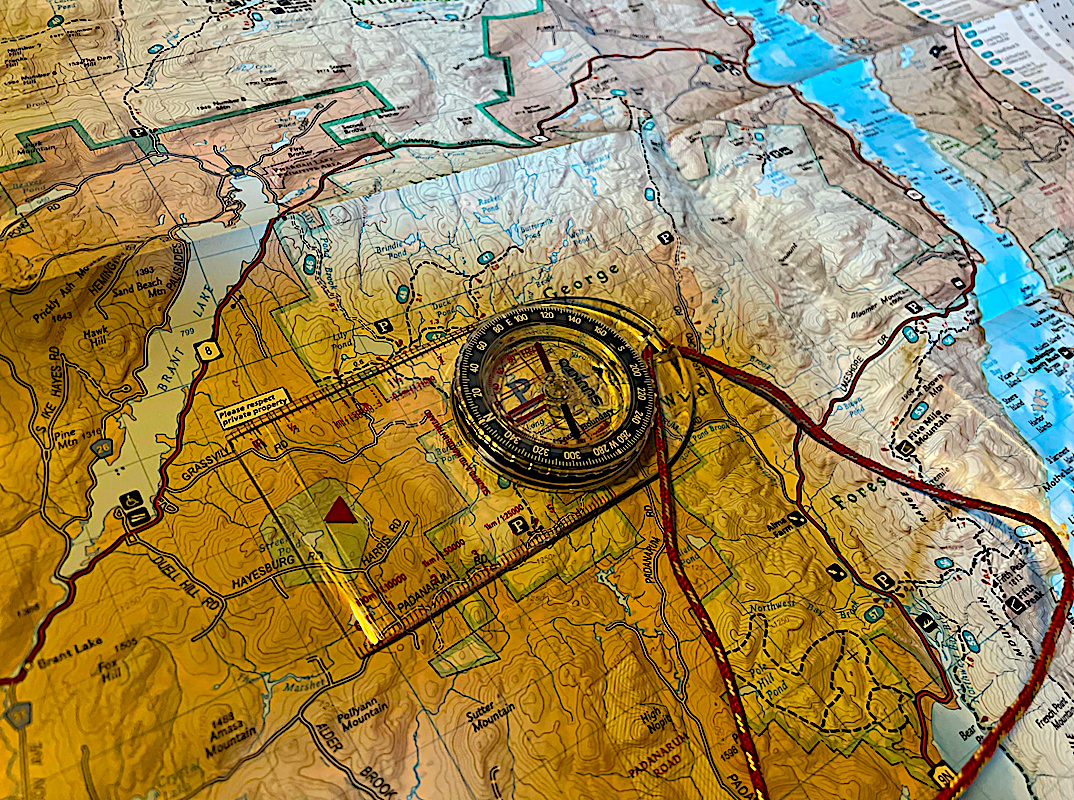
Pictured: SUUNTO A-10 Compass, a great affordable option for a reliable compass, along with the National Geographic Lake George/Sacandaga Region Trail Map
One of the most essential tools for navigation is a compass. A compass is a device that shows you the direction of magnetic north, which you can use to orient yourself and find your way on a map. A compass doesn't need batteries or signal, so it's reliable and easy to use.
But how do you use a compass while hiking? In this article, we'll explain the basics of compass navigation, including how to read a compass, how to adjust for declination, how to take bearings by map or sight, and how to follow them in the field.
How to Read a Compass
A compass has several parts that you need to know before using it. The most important part is the magnetic needle, which is a red-and-white arrow that always points towards magnetic north. The red end of the needle is called north-seeking pole or simply north.
The second part is the baseplate, which is the transparent flat surface of the compass. It has a rectangular shape and usually has at least one straight edge that you can use to align with map features or draw lines on a map. The baseplate also has markings for measuring distances and angles.
The third part is the rotating bezel or housing, which is the round plastic bubble that contains the magnetic needle. The bezel has degrees marked from 0° to 360° around its edge. These degrees are used to measure directions or bearings on a compass.
The fourth part is the direction-of-travel arrow or index line, which is an arrow on one end of the baseplate that points away from you when you hold the compass flat in front of you. This arrow shows you which direction you need to go when following a bearing.
The fifth part is the orienting arrow or outline, which is an arrow inside the bezel that rotates with it. This arrow helps you align your compass with your map or your bearing.
How to Adjust for Declination
Before using your compass for navigation, you need to adjust it for declination. Declination is simply the difference in degrees between magnetic north (where your needle points) and true north (where maps are oriented). Declination varies by location and time because of changes in Earth's magnetic field.
If you don't adjust your compass for declination, you'll get inaccurate readings and directions on your map or in the field. For example, if declination in your area is 10° east (positive), then magnetic north will be 10° east of true north on your map. If you don't correct this difference on your compass, then every bearing you take will be off by 10°.
To adjust your compass for declination, you need two things: first, know what declination value applies to your area; second, have a way to set this value on your compass.
You can find out declination value by looking at your map legend (if it's up-to-date) or checking online sources like the NOAA website.
To set declination value on your compass depends on what type of model you have: some have an adjustable screw that lets you rotate the bezel until it matches declination value; others have fixed markings that show common declination values; others have no adjustment mechanism and require manual calculations.
If your compass has an adjustable screw, simply loosen it and turn the bezel until the orienting arrow points to declination value (positive or negative) on the degree scale. Then tighten the screw again. Your compass is now adjusted for declination and ready to use.
If your compass has fixed markings, find out which one corresponds to declination value in your area. Then align this marking with the index line when taking bearings by map or sight. Your readings will be automatically corrected for declination.
If your compass has no adjustment mechanism, you'll have to add or subtract declination value from every bearing you take by map or sight. For example, if declination is 10° east (positive), then add 10° to every bearing you take by map, and subtract 10° from every bearing you take by sight. If declination is 10° west (negative), then subtract 10° from every bearing you take by map, and add 10° to every bearing you take by sight.
How to Take Bearings by Map or Sight
There are two ways you can take bearings with your compass: by map or by sight. By map means that you use your map to find the direction of your destination from your current location. By sight means that you use your compass to find the direction of a visible landmark in the field.
To take a bearing by map, follow these steps:
- Draw a line on the map connecting your current location (point A) and your destination (point B) using your compass as a straight edge.
- Place your compass on the map so that the edge of the baseplate aligns with the line you drew, and the direction-of-travel arrow points towards point B.
- Rotate the bezel until the orienting arrow and north on the bezel align with north on the map. Make sure you use true north or adjust for declination if necessary.
- Read the bearing at the index line or the direction-of-travel arrow. This is the angle between north and point B measured clockwise.
To take a bearing by sight, follow these steps:
- Hold your compass flat in front of you and point the direction-of-travel arrow at the landmark you want to go to or identify.
- Rotate the bezel until the red end of the magnetic needle aligns with the orienting arrow or outline.
- Read the bearing at the index line or the direction-of-travel arrow. This is the angle between north and the landmark measured clockwise.
How to Follow a Bearing in the Field
Once you have taken a bearing by map or sight, you need to follow it in the field to reach your destination or identify your location. To follow a bearing in the field, follow these steps:
- Set your bearing on your compass by rotating the bezel until the desired degree is at the index line or the direction-of-travel arrow. Make sure you adjust for declination if necessary.
- Hold your compass flat and level in front of you with the direction-of-travel arrow pointing away from you.
- Turn your body until the red end of the magnetic needle aligns with the orienting arrow or outline.
- Look ahead and find a visible landmark (such as a tree, rock, or hill) that lies on the direction-of-travel arrow.
- Walk towards that landmark, keeping it aligned with the direction-of-travel arrow as much as possible.
- When you reach that landmark, repeat steps 2-5 until you reach your destination or identify your location.
A compass is a valuable tool for navigation while hiking, especially in remote or challenging areas where other devices may fail or be unavailable. By learning how to read a compass, adjust for declination, take bearings by map or sight, and follow them in the field, you can improve your orientation skills and confidence on the trails. Remember to always carry a map and a compass with you, check your declination before using your compass, verify your compass readings with other sources of information, and keep your compass away from metal objects that can affect its accuracy. With these tips and some practice, you'll be able to navigate with a compass like a pro.